Newspeak Professional Magazine - Premium WordPress Theme by Avantgardia
- Created: 17/04/2016
- Latest update: 17/04/2016
- By: Avantgardia
Thank you for purchasing our theme. If you have any questions that are beyond the scope of this help file, please feel free to email us.
Installation
Installing Newspeak theme is simple, as any other WordPress theme.
After unpacking package you downloaded from ThemeForest, upload Newspeak theme folder to your themes folder on your server. After that login to WordPress backend and go to Appearance -> Themes and Newspeak theme should show up in your themes list.
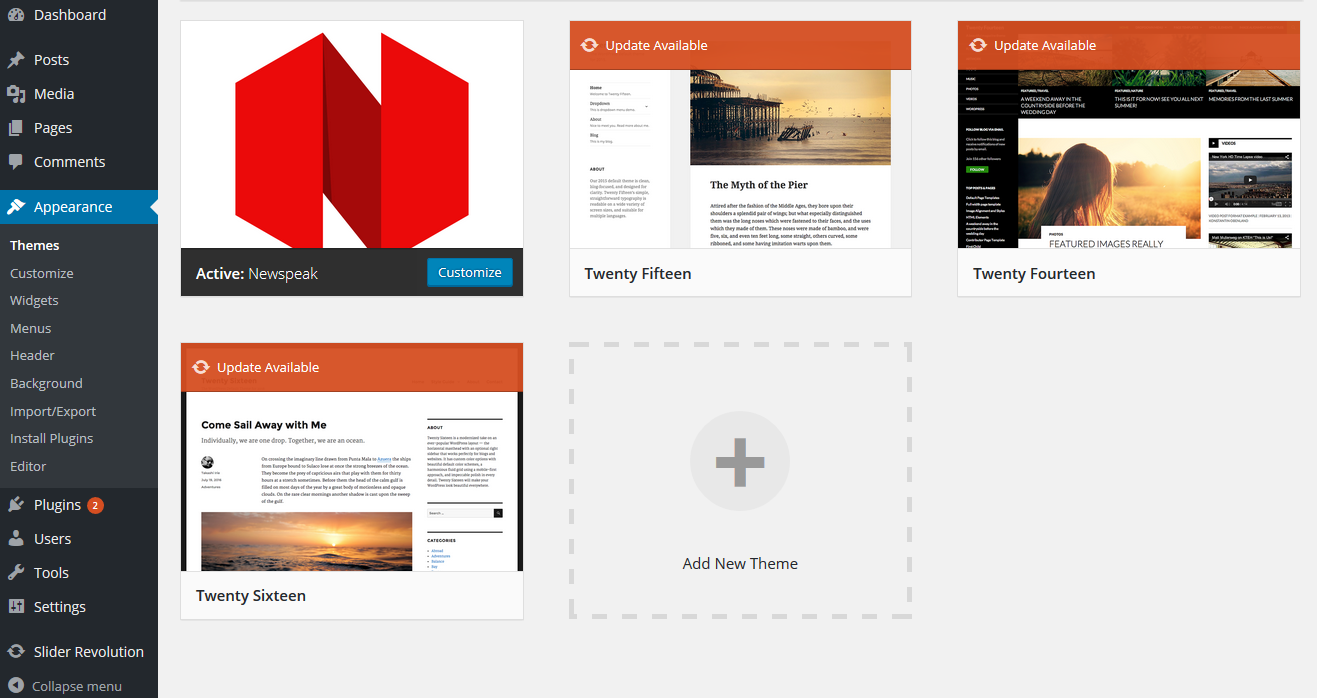
Hover Newspeak theme with your mouse and click on Activate button to activate it.
After theme is activated, you will get the following message in the upper part of your screen.

Click on "Begin activating plugins" link.
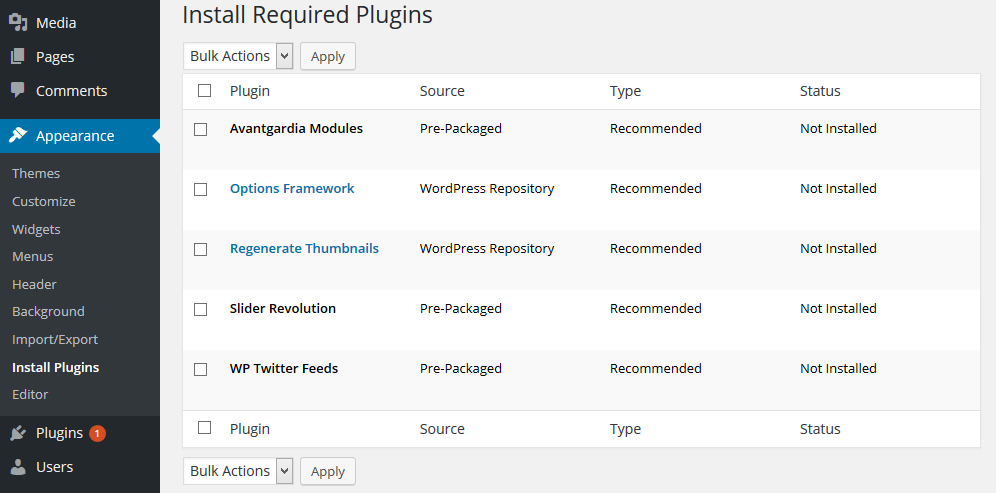
You will get new page with a list of plugins that is recommended to use with the theme. Check all the checkboxes and from the dropdown Bulk action select "Install" and click on Apply button.
WordPress will automatically install all plugins and inform you that everything has gone well. Click on the "Return to Required Plugins Installer" link. You will return to previous page. Select all the plugins and from the dropdown Bulk action select "Activate". Click Apply button. All the plugins are now active and you are ready to begin using the theme.
Theme Options
Go to Appearances->Theme Options and you will get the following page
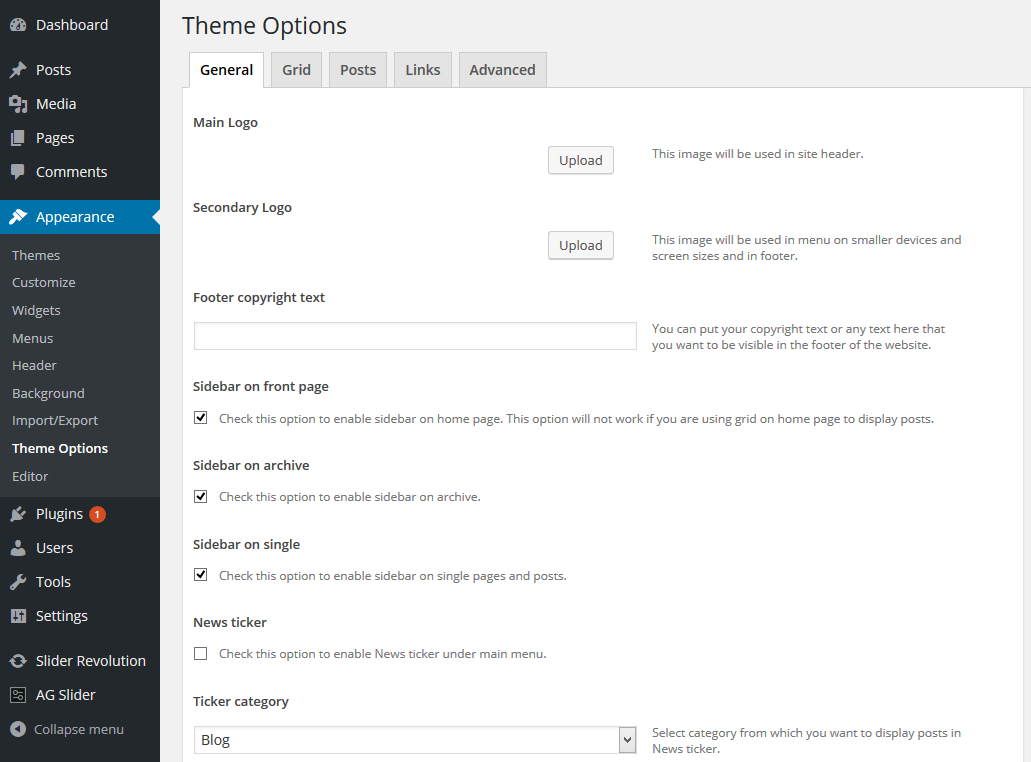
Here you will find all global theme options arranged in 6 tabs: Global, Background, Shop, Footer, Advertisement and CSS, JS & Fonts.
General Settings
Here is the overview for the General Options tab in Theme Options page.
Main Logo
Click on the "Save Options" button in the bottom right of the page to save your options. Open Home page of the website to view changes.
Secondary Logo
Click on the "Save Options" button in the bottom right of the page to save your options. Open Home page of the website to view changes.
Footer copyright text
Sidebar on front page
Click on the "Save Options" button in the bottom right of the page to save your options. Open Home page of the website to view changes.
Sidebar on archive
After you have made your selection, click on the "Save Options" button in the bottom right of the page to save your options. Open any category page of the website to view changes.
Sidebar on single
After you have made your selection, click on the "Save Options" button in the bottom right of the page to save your options. Open any post or page of the website to view changes.
News ticker
Click on the "Save Options" button in the bottom right of the page to save your options. Open any front page of the website to view changes.
Ticker category
Click on the "Save Options" button in the bottom right of the page to save your options. Open any front page of the website to view changes.
News ticker post count
Click on the "Save Options" button in the bottom right of the page to save your options. Open any front page of the website to view changes.
Header ad code
Click on the "Save Options" button in the bottom right of the page to save your options. Open any front page of the website to view changes.
Grid
Here you will find the overview for the Grid options of this template.
Grid on Home page
Click on the "Save Options" button in the bottom right of the page to save your options. Open Home page of the website to view changes.
Grid on Archive pages
Click on the "Save Options" button in the bottom right of the page to save your options. Open any category page of the website to view changes.
Default grid block size
Click on the "Save Options" button in the bottom right of the page to save your options. Open your grid page of the website to view changes.
Show grid content on hover
Click on the "Save Options" button in the bottom right of the page to save your options. Open your grid page of the website to view changes.
Grid ad code
Click on the "Save Options" button in the bottom right of the page to save your options. Open your grid page of the website to view changes.
Grid ad position
Click on the "Save Options" button in the bottom right of the page to save your options. Open your grid page of the website to view changes.
Grid ad repeat
Click on the "Save Options" button in the bottom right of the page to save your options. Open your grid page of the website to view changes.
Posts
Here is the overview for the Posts tab in Theme Options page.
Archive list type
Click on the "Save Options" button in the bottom right of the page to save your options. Open any category page of the website to view changes.
Post pagination type
Click on the "Save Options" button in the bottom right of the page to save your options. Open any category page of the website to view changes.
Default post type
Length of excerpt
Click on the "Save Options" button in the bottom right of the page to save your options. Open any category page of the website to view changes.
Show view count
Click on the "Save Options" button in the bottom right of the page to save your options. Open any category or post page of the website to view changes.
Enable Sharing
Click on the "Save Options" button in the bottom right of the page to save your options. Open any page of the website to view changes.
Read more text
Click on the "Save Options" button in the bottom right of the page to save your options. Open any category page of the website to view changes.
Number of related posts
Click on the "Save Options" button in the bottom right of the page to save your options. Open any single post to view changes.
Cap grid title length
Click on the "Save Options" button in the bottom right of the page to save your options. Open any grid page of the website to view changes.
Box Shadow around post blocks
Click on the "Save Options" button in the bottom right of the page to save your options. Open any category page of the website to view changes.
Ads on single posts
Click on the "Save Options" button in the bottom right of the page to save your options. Open any single post of the website to view changes.
Single post ad code
Click on the "Save Options" button in the bottom right of the page to save your options. Open any single post of the website to view changes.
Single post ad size
Click on the "Save Options" button in the bottom right of the page to save your options. Open any single post of the website to view changes.
Links
Here is the overview for the Social Links tab in Theme Options page.
You can set up to 8 predefined social media links that are going to be shown in the footer of your website, and two more custom links that you can set.
Custom links have field for URL and field for text. In URL filed you can set link to any page that you want, and in the text field you can add FontAwesome icon code or any other icon that you want to embed.
Example: If you want to add link to an Instagram profile, you will have to put link in the Custom social link 1 field, and this code <i class="fa fa-instagram"></i> in the Custom social link text field (that is if you want to use FontAwesome icon).
Advanced
Here you can setup Advance options for your website.
Custom CSS
Click on the "Save Options" button in the bottom right of the page to save your options.
Posts
When creating new post with our theme, you have few additional options that you might want to use.
Block size
Post ad options
Post source info
Post layout
You can also set the height of media in the post header here (it only works if you are displaying images in post header).
Post media description
You can also set the height of media in the post header here (it only works if you are displaying images in post header).
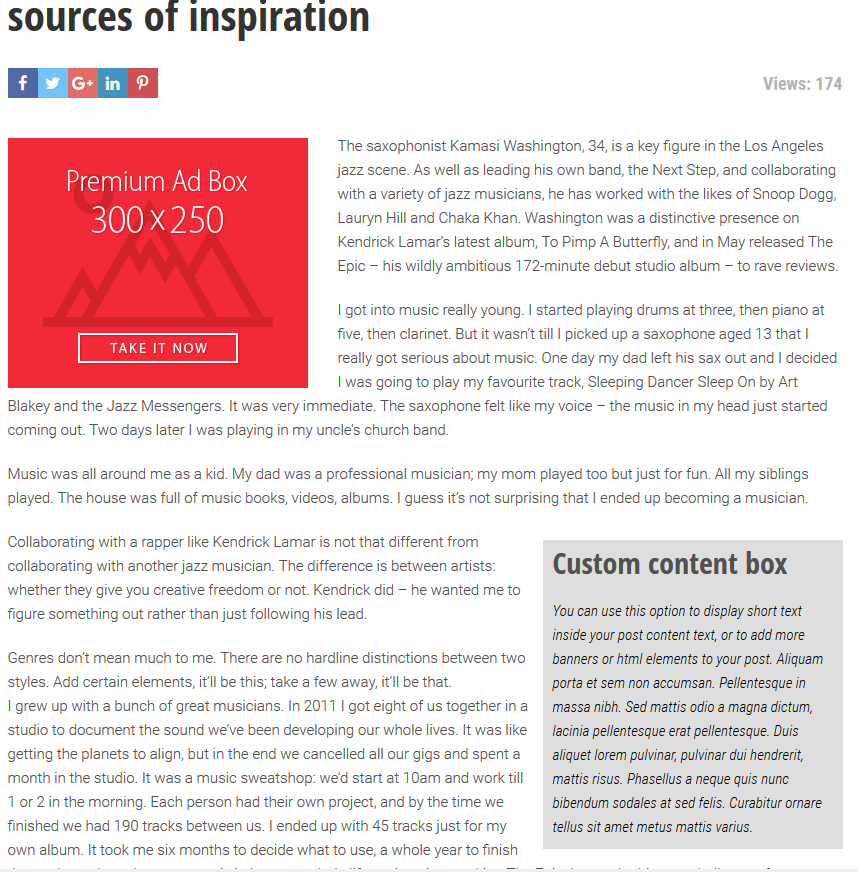
Custom content box
Enable custom content box
Box title
Content
Use for banner display
Alignment
Position
After you have set these options, your result should look something like the image below.
Post media
Quote Post Format Content
Post gallery
Page templates
Page templates enables you to create beautiful pages easily.
You can choose one on five unique predefined page templates that you can use depending on your needs.
Page slider
You can also set the width of your slider. Boxed slider will appear in the width of the page text content, Page width option will display slider in the width of the page, above page content and sidebar, and Window width option will stretch slider in the full width of the browser above page content and sidebar.
Contact Page Template
Contact page options
Contact page will also display contact form if you fill in email for contact form to be sent to. This email will not be shown anywhere on the website, but all the contact messages that are sent using contact form will be delivered to this address. Contact form has some basic anti-spam protection, so you don't need to worry about bots.
Grid Page Templates
There are two Grid templates, (Grid Template and Grid Template Boxed). They don't have any additional options, but you can use them to display posts in full width grid and boxed grid. Full width grid doesn't have sidebar, but boxed grid template can have sidebar.
News Page Builder Template
When you select News Page Builder template News Page Builder box will appear with page builder and some additional options.
Clicking on the big "+" button will add new News block to the builder that you can then setup to your liking.
There are 11 predefined styles for News Blocks that you can choose from. Each block can display some number of posts which you can setup manually, or just choose categories from which you want to display posts. You can also set just some specific post that you want to show, or mix some specific post and post from categories that you have selected.
If you choose to mix specific post with posts from categories, then first specific posts that you have selected will be shown, and then, the rest will be loaded from the categories that you have selected.
You can select one or multiple categories that can be shown as post filters in the News Block, order posts by date, views or other options, etc.
Block title
Choose block template
Add specific posts
Add Categories
Order by
Show cat filters
Show navigation
News page ads
You can also select after how many news blocks you want your ad to appear, and after how many blocks to repeat ad block.
Two Column Template
When you select this template Two Column page options box will appear on the page.
Two Column page options
Left column
You can setup ads that you want to display in this column. You can also select after how many posts you want your ad to be displayed, and after how many posts do you want to repeat it. Only two ad sizes are supported for this column, 300x250px and 300x600px.
Right column
You can setup ads that you want to display in this column. You can also select after how many posts you want your ad to be displayed, and after how many posts do you want to repeat it. Only two ad sizes are supported for this column, 300x250px and 300x600px.
AG Slider
AG Slider is elegant and simple slider that you can use to display latest post or to simple highlight some posts that you want.
Slider title
Select template
Add elements
If you set element to display single post, you will then need to type in the name of the post in the input field and the post will appear in the list. Click on the post that you want to use.
if you set element to display post from category, then you will need to select from which category do you want to get posts, and how many post to show, and slider will get that meny latest post from that category automatically.
Click on "Save slider" button, and you are good to go.
After you have saved lisder, it will appear in the list below with some basic informations about it. If you click on "Edit" button, you will load slider in the form above and you will be able to make some changes.